PAUL VIRANT

  • Home
  • About
  • Restaurants
  • Cookbook
  • Jar Sessions
  • Recipes
  • Contact
Photo by Regan Baroni

Photo by Regan Baroni

Make-at-Home Okonomiyaki, Osaka-Style

May 22, 2021 by Charlotte Compton

Try your hand at making okonomiyaki, a savory Japanese pancake, at home! For me, it's one of the ultimate comfort foods and I hope you enjoy it as much as my family and I do. Let us know how it goes! (And come have one at Gaijin once we open our doors again.)

(Serves two)

Ingredients

  • 1 C dashi

  • 2/3 C AP flour

  • 1 tsp baking powder

  • 2 eggs

  • 1 T pickled ginger, minced

  • 3 1/2 C cabbage, chopped

  • 1 C scallions, sliced

  • 1/2 C yam, finely grated (note: traditional nagaimo is preferred)

  • 1/2 C tempura flakes (tenkatsu)

  • 3 slices bacon, cut in half

  • Salt

  • Vegetable oil

  • Kewpie mayonnaise

  • Okonomiyaki sauce

  • Aonori

  • Katsuobushi (bonito flakes)

Directions

  • Preheat griddle to medium-high heat.

  • In a mixing bowl, combine dashi, yam and eggs; whisk well to combine.

  • Add flour and baking powder; mix well.

  • Add cabbage, scallions and pickled ginger; mix well. Season with salt.

  • Fold in tempura flakes.

  • Brush vegetable oil on griddle and divide batter into 2 portions on the griddle.

  • Spread out to form an even circle, place 3 halves of bacon on each, and cover each with a lid. Cook for 4 minutes.

  • Uncover and flip over. Cook another 4 minutes until pancakes are done.

  • Brush with okonomiyaki sauce and garnish with Kewpie.

  • Sprinkle with aonori and finish with flakes of bonito.

  • Serve and enjoy!

Note: If you don't have a griddle at home, you can use a large skillet.

May 22, 2021 /Charlotte Compton
2 Comments
Photo by Jeff Kauck for The Preservation Kitchen cookbook

Photo by Jeff Kauck for The Preservation Kitchen cookbook

Grilled and Pickled Asparagus With Prosciutto and Fried Eggs

April 13, 2020 by Charlotte Compton

Juxtaposing grilled and pickled asparagus highlights two sides of the iconic spring vegetable. On the grill, the asparagus is smoky and meaty. In vinegar, it's grassy and green, with just enough pucker to counter a rasher of prosciutto. Topped with a fried egg, this dish can easily double as a savory brunch course.

You can order our Jar Sessions Pickled Green Asparagus for local delivery or purchase via our online store for shipping to other areas.

Serves 4

Ingredients

  • 6 spears Jar Sessions Pickled Green Asparagus, thinly sliced

  • 2 tablespoons Pickled Green Asparagus pickling liquid

  • 1/4 cup spring onions, thinly sliced

  • 1 tablespoon Dijon mustard

  • 1/4 cup plus 2 tablespoons extra-virgin olive oil

  • Kosher salt and freshly ground black pepper

  • 1 pound fresh asparagus

  • 4 generous slices prosciutto

  • 2 or 3 tablespoons unsalted butter

  • 4 large eggs

  • 1 cup loosely packed and picked fresh parsley, chives and tarragon leaves

Directions

  • Prepare a fire in the grill, spreading the coals for direct-heat cooking. Alternatively, preheat the oven to 450 degrees F.

  • To make the vinaigrette, in a small bowl, mix together the pickled asparagus, pickling liquid, spring onions and mustard. Whisk in 1/4 cup of the olive oil and add a pinch of salt and pepper to taste.

  • To prepare the asparagus, trim off the tough ends of the fresh asparagus. Spread the asparagus across a baking sheet in a single layer and season with the remaining 2 tablespoons oil and a couple pinches of salt and pepper. Place the asparagus on the grill, ensuring the spears sit perpendicular to the grill's grates. Grill over high heat until evenly charred, 3 to 4 minutes. Alternatively, roast in the oven until the tips are caramelized.

  • For serving, drape a piece of prosciutto across each plate. Divide the grilled asparagus among the plates. Meanwhile, heat a dollop of butter in a large skillet. Fry the eggs to your liking. (If necessary, do this in batches, wiping out the pan between each use.) Gently place the eggs on top of the asparagus. Mix the herbs into the vinaigrette and spoon over the eggs.

Recipe from The Preservation Kitchen: The Craft of Making and Cooking with Pickles, Preserves, and Aigre-doux, by Paul Virant with Kate Leahy, page 141

April 13, 2020 /Charlotte Compton
Comment
quick-japanese-pickles.JPG

Quick Japanese Pickles

April 09, 2020 by Charlotte Compton

Give this one a try—easy and fast, and you’ll find yourself jazzing up so many dishes with these versatile pickles.

Ingredients

  • 6 cups of your favorite vegetables, chopped (I used cucumbers, carrots and celery.)

  • 1 cup sugar

  • 1 cup rice vinegar

  • 1 cup water

  • Thumb of freshly sliced ginger

Directions

  • Add the sugar, vinegar, water and ginger to a pot and heat to dissolve the sugar. (You can add sliced pepper to this as well, if you’d like to introduce some heat.)

  • Add your prepped vegetables to a bowl and pour the liquid over them to cover.

  • Cool and refrigerate.

quick-japanese-pickles.JPG
April 09, 2020 /Charlotte Compton
Comment
jar-sessions-chow-chow-cornbread.jpg

Cheddar Cornbread With Jar Sessions Chow Chow

April 09, 2020 by Charlotte Compton

Here’s a simple cornbread recipe that checks the “comfort food” box. You can order our Jar Sessions Sweet Corn Chow Chow for local delivery or purchase via our online store for shipping to other areas.

Ingredients

  • 1 12-ounce Jar Sessions Sweet Corn Chow Chow, drained

  • 8 ounces aged cheddar cheese, grated

  • 1 stick unsalted butter, melted

  • 1/2 cup honey

  • 2 eggs, room temperature

  • 1 cup buttermilk, room temperature

  • 1 cup AP flour

  • 1 cup cornmeal

  • 1/2 teaspoon salt

  • 1/2 teaspoon baking soda

Directions

  • Preheat oven to 375 degrees with a cast iron skillet (8 to 10 inches) inside.

  • In a large mixing bowl, combine butter and honey.

  • Add eggs one at a time, mixing well each time.

  • Add buttermilk, mix to combine.

  • In a separate bowl, mix together all the dry ingredients.

  • Add the dry into the wet mixture, mix together until only a few lumps remain.

  • Fold in the chow chow.

  • Remove skillet from oven, spray with pan spray.

  • Pour batter in hot, greased pan, top with cheddar.

  • Bake for 25 to 30 minutes until golden brown and a cake tester comes out clean.

  • Cool for 10 minutes before serving.

  • Extra credit: Cool completely, slice and refry in butter on a griddle.

April 09, 2020 /Charlotte Compton
Comment
stro-75-french-75-hinsdale.jpg

Cocktail Time: 'Stro 75

April 09, 2020 by Charlotte Compton

… otherwise known as a French 75! Thanks to Vistro GM Angelina for sharing the recipe for this classic combination of booze plus bubbles (a favorite cocktail at Vistro).

Ingredients

  • 1.5 oz. gin

  • .75 oz. fresh lemon juice

  • .5 oz. simple syrup

  • Your favorite bottle of sparkling

Directions

  • Shake the gin, lemon juice and simple syrup in a cocktail shaker with ice.

  • Strain into a coupe or flute and top with sparkling.

  • Add a lemon twist if you like. Cheers!

April 09, 2020 /Charlotte Compton
Comment
pickled-jalapenos.jpg

Pickled Jalapeños

April 06, 2020 by Charlotte Compton

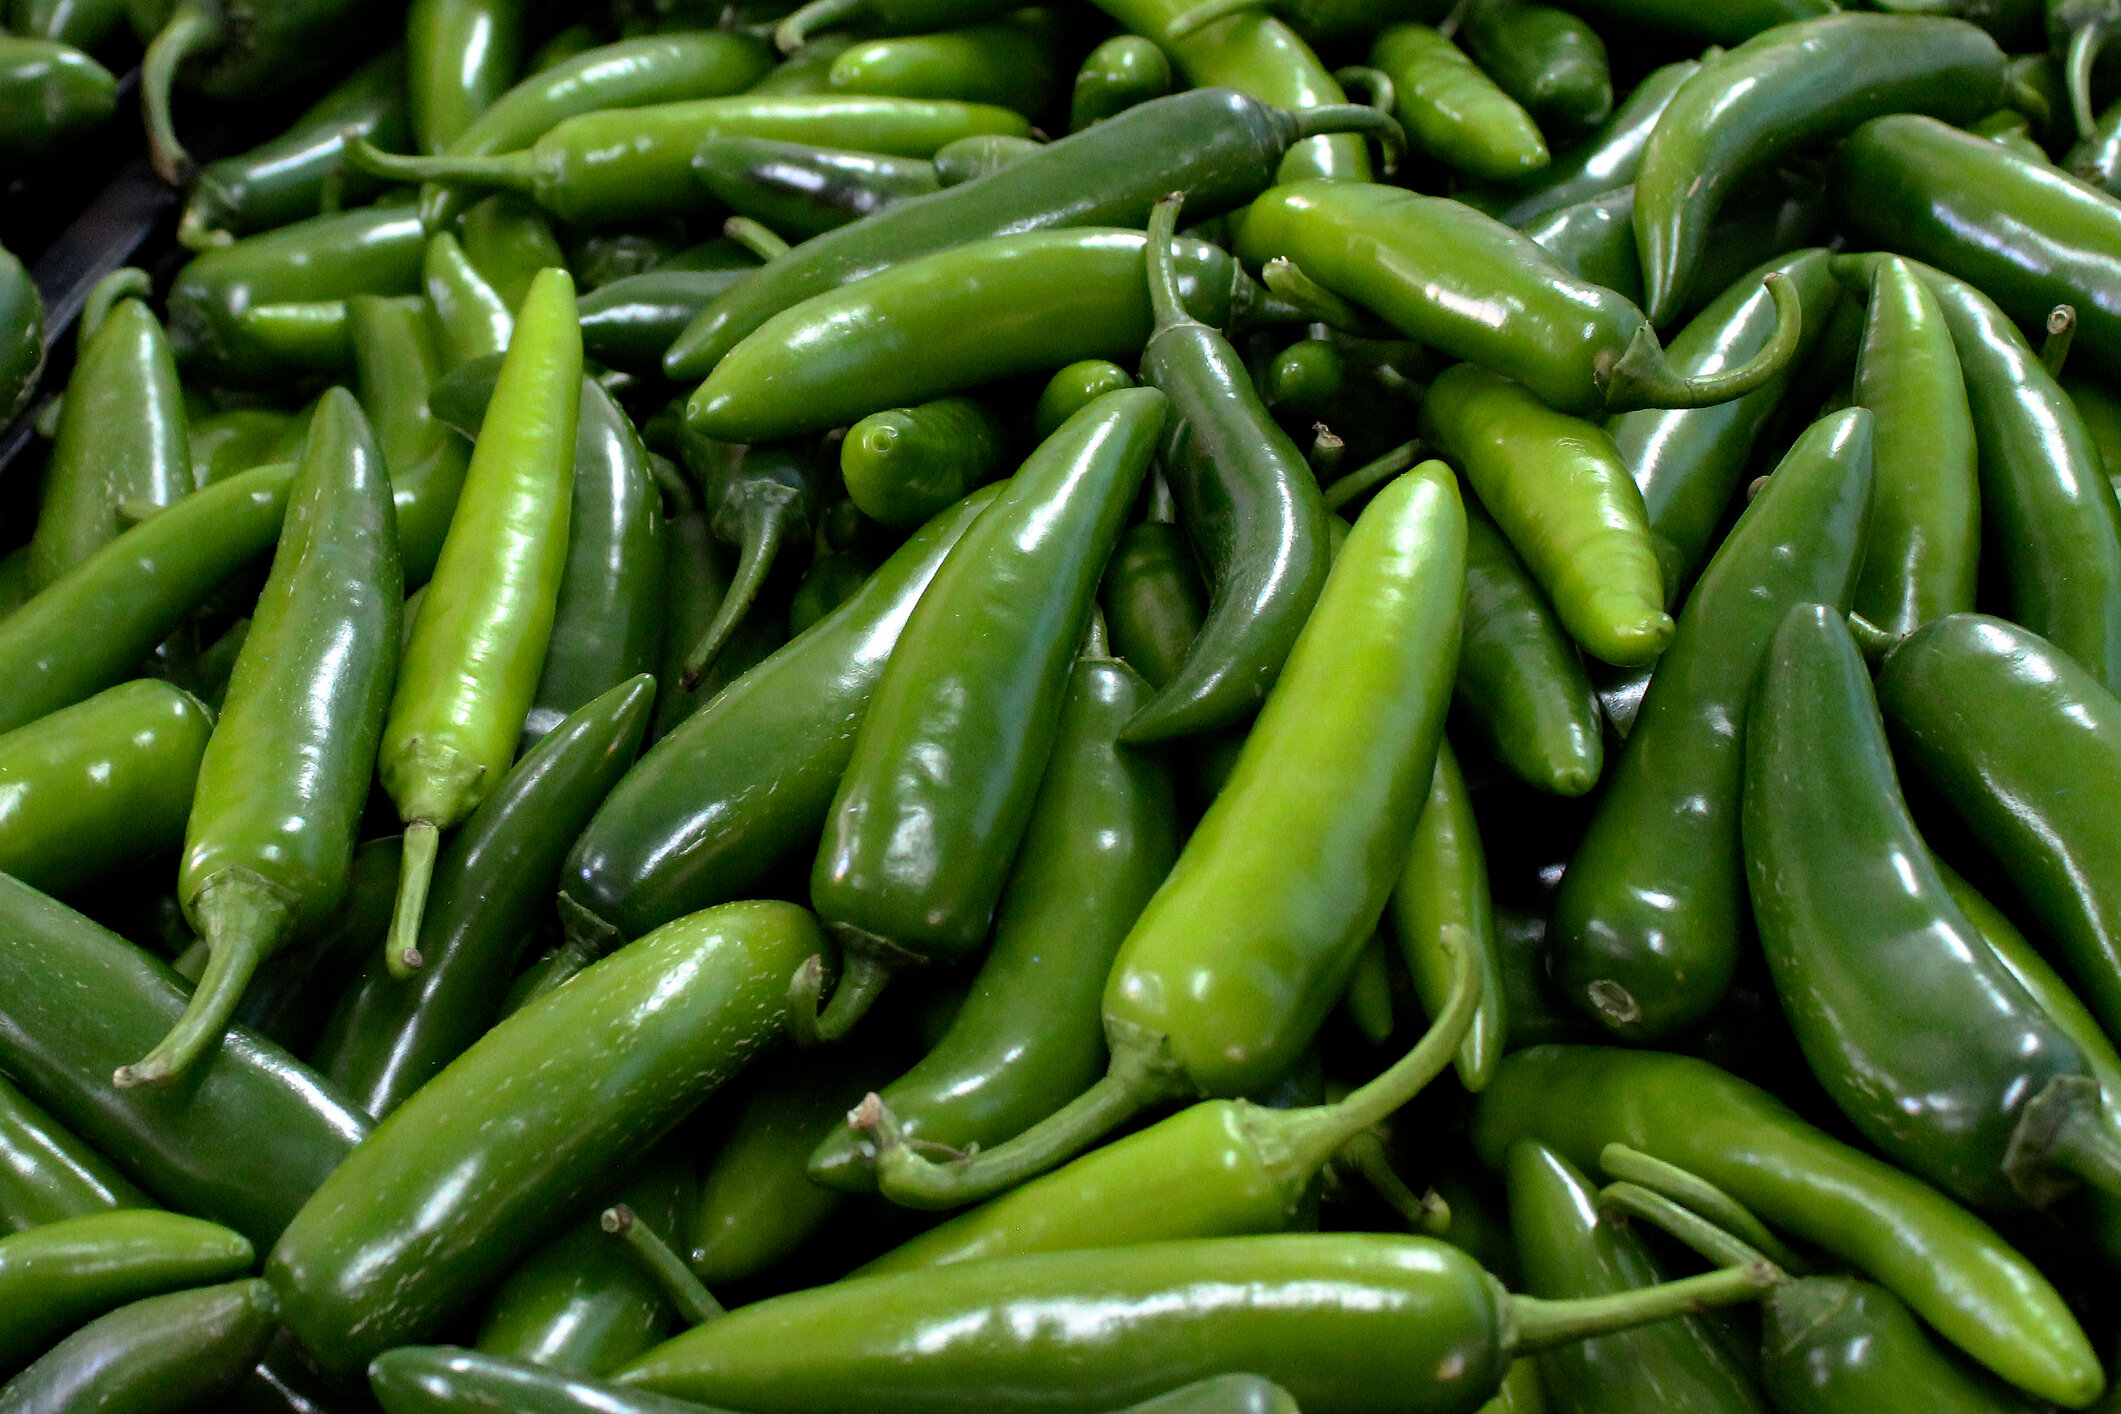
We had a special request for a recipe for pickled jalapeños—a great addition to spice up just about any dish. Thanks to Dan, our chef de cuisine at Vie, for getting this quick pickle (quickle!) recipe together for us.

Ingredients

  • 2 lbs jalapeños

  • 1/4 oz kosher salt

  • 3 oz sugar

  • 12 oz apple cider vinegar

  • 12 oz water

  • 2 tsps coriander seeds

  • 2 cloves garlic

  • 3 sprigs fresh cilantro

Directions

  • Char the jalapeños on a hot grill, over the flame of a gas stove, or in your broiler. When cool enough to handle, rub off the blackened skins of the peppers and cut off the stem ends.

  • Combine the salt, sugar, vinegar, water and coriander seeds in a pot and bring to a boil.

  • Place the jalapeños, garlic and cilantro in a nonreactive container and pour in the hot brine.

  • Allow to cool, then cover and refrigerate. Allow pickles to brine for 2 days before using for best flavor. Enjoy them whole or slice/dice up the jalapeños for eggs, burgers, burritos, avocado toast, salads, and the list goes on!

April 06, 2020 /Charlotte Compton
Comment
Photo via Phil Vettel, Chicago Tribune: ‘Craving: Munchies’

Photo via Phil Vettel, Chicago Tribune: ‘Craving: Munchies’

Vistro House Cheezits

March 31, 2020 by Charlotte Compton

We’ve had a few requests for the recipe for the Vistro Cheezits. Thanks to Eddie, our chef de cuisine, for slightly modifying the recipe for at-home cooking. These little crackers make an ideal snack when you’re craving something salty. Plus, they are kid-approved! If you have a little extra time on your hands right now, give this recipe a whirl and let us know how it goes.

(Makes 1 full sheet pan)

Ingredients 

  • 8 oz. cheddar cheese

  • 2.6 oz. butter, cold, diced

  • 4.8 oz. AP flour

  • 1/3 tsp. onion powder

  • 1/3 tsp. salt

Measure first 4 ingredients with a kitchen scale if possible.

Directions

  • Grate cheese through your food processor's fine grater attachment (or use a box grater).

  • Combine all ingredients in your food processor with the S-blade attachment.

  • Pulse until a dough forms, and turn out onto plastic wrap. The dough should looks like pie dough with small chunks of butter throughout.

  • Wrap in plastic and use the plastic to press the dough together into a rectangle. Flatten to about 1/2-inch thickness. Allow to rest at room temperature for about 10 minutes.

  • Remove plastic and roll between two sheets of parchment. Release the dough from both pieces of parchment and flip it over after each pass with the rolling pin. This will make rolling it much easier!

  • Roll the dough as thinly and evenly as you can. Cut into approximately 1 inch x 1 inch squares. Store in the freezer between the pieces of parchment you rolled it with.

  • Bake on a flat sheet pan for 12 minutes at 375F, rotating the pan once during cooking. Cool completely before storing.

March 31, 2020 /Charlotte Compton
1 Comment
Photo of Gaijin cocktails by @ladydavos

Photo of Gaijin cocktails by @ladydavos

Jin-Ger Highball

March 31, 2020 by Charlotte Compton

(Makes 1 cocktail)

Here's to highballs at home! With thanks to Julius, our beverage director at Gaijin, we’re sharing a how-to for making one of our popular highballs: the Jin-Ger. It's refreshing and easy to put together (and you should be able to find everything you need at Binny's and other well-stocked stores).

We can't wait to have you back at Gaijin to enjoy a highball with us!

Ingredients

  • 2 oz. Rihei Ginger shochu

  • .5 oz. Domaine de Canton ​

  • 2 lemon wedges

  • Fever-Tree ginger beer

Directions

  • Squeeze two lemon wedges and drop them into a tall glass.

  • Add the shochu and Domaine de Canton, then fill your glass with ice.

  • Pour the ginger beer over the ice.

  • Insert a spoon into the glass and agitate from the bottom to incorporate ingredients.

  • At Gaijin, we garnish with a thin slice of dried ginger on top of the ice.

March 31, 2020 /Charlotte Compton
Comment
vie-salad-vinaigrette.jpg

Garlic and Herb Vinaigrette (...The One on the Vie Salad)

March 30, 2020 by Charlotte Compton

This is the vinaigrette we use on the Vie Salad, which starts with local lettuces we get year-round from Werp Farm in Michigan, plus radishes, pickled summer beans and a generous mound of grated, salty, rich parmesan. If you have a little extra time in the kitchen, this vinaigrette is worth it and can also be used as a marinade or a sauce for grilled veggies, fish or meats.

Ingredients

  • 9 cloves garlic, divided

  • 1 shallot, brunoise

  • 1 T honey

  • ½ C brine from your favorite pickles (At Vie, we use the brine from our pickled summer beans.)

  • ½ C champagne vinegar

  • ¼ C lemon juice

  • ½ C olive oil

  • 1 C grapeseed oil

  • Salt and black pepper to taste

Directions

  • Bring 5 cups of water to boil. Transfer 1 cup to a smaller pot and add 5 cloves of the garlic. Blanch for 30 seconds and drain. Repeat 4 more times with the remaining 4 cups water.

  • Mince the 5 blanched cloves of garlic along with the 4 raw cloves. Combine with shallots, honey, pickle liquid, champagne vinegar and lemon juice. Whisk in oils.

Tips

  • Make the vinaigrette at least a day in advance, so the flavors are fluid and balanced.

  • If you want to skip the garlic blanching step, substitute roasted garlic, to provide a sweeter, richer flavor.

March 30, 2020 /Charlotte Compton
Comment
Photo by Vistro GM Angelina

Photo by Vistro GM Angelina

Swiss Chard and Pickled Stems

March 30, 2020 by Charlotte Compton

Here's a good one for those of us trying to be sure we're making the most of what we have. While chard stems can be forgettable when raw, they are dynamic when pickled, providing a sharp contrast to wilted chard leaves. This is essentially a quick pickle, meant to be consumed soon after it is made. The stems can be pickled for a week or two before serving.

(Makes about 3 cups)

Ingredients

  • ½ cup champagne vinegar

  • ½ cup water

  • 1 shallot, minced

  • 2 tablespoons honey

  • ½ teaspoon kosher salt, plus extra for seasoning

  • 1½ pounds Swiss chard

  • 2 tablespoons extra virgin olive oil

Directions

  • In a 4- to 6-quart pot, simmer the vinegar, water, shallot, honey and salt until the honey and salt have dissolved.

  • Tear the leaves off the stems. Trim off the tough ends and dice the stems into ¼-inch pieces. Add the stems to the pot. (If the brine doesn’t cover the stems completely, that’s okay. The stems will soften in the brine.) Bring to a simmer and cook, stirring occasionally to ensure all the stem pieces absorb some brine, for 5 minutes. Let the stems cool in the brine. If you are not planning to serve them right away, cover and refrigerate for up to 2 weeks.

  • In a large pot over high heat, warm the olive oil. Stir in the leaves and a pinch of salt and sauté until the begin to wilt. Using a slotted spoon, add the pickled stems to the pot, then spoon in half of the pickling liquid. Cook until the chard leaves are soft and most of the liquid is evaporated. Taste, adding more pickling liquid if you prefer a sharper taste.

Recipe from The Preservation Kitchen: The Craft of Making and Cooking with Pickles, Preserves, and Aigre-doux, by Paul Virant with Kate Leahy, page 136

March 30, 2020 /Charlotte Compton
1 Comment
Photo by Kelly Howe

Photo by Kelly Howe

Cocktail Time: Hinsdale Meantime

March 28, 2020 by Charlotte Compton

This cocktail is an old favorite among many of our Vistro guests (created by our very first bar manager, Bill – @whiskeymoneybill). It's a fun one to make and we hope it adds some extra 'happy' to your at-home happy hour these days. Cheers!

Ingredients

  • 1.5 oz. bourbon

  • .75 oz. chamomile tea syrup

  • .75 oz. fresh lemon juice

  • .75 oz. red wine for the float (our GM Angelina suggests a lighter wine such as a pinot noir)

Directions

  • Shake the bourbon, chamomile tea syrup and lemon juice.

  • Strain over ice.

  • For the red wine float, gently pour approximately .75 oz. of wine over the back of a spoon. Tip: Try to pour it slowly so the wine floats on top.

  • Add a twist of lemon if you wish and enjoy!

March 28, 2020 /Charlotte Compton
2 Comments
vistro-burger.jpg

Pimento Cheese (...The One That Tops the Vistro Burger ;)

March 26, 2020 by Charlotte Compton

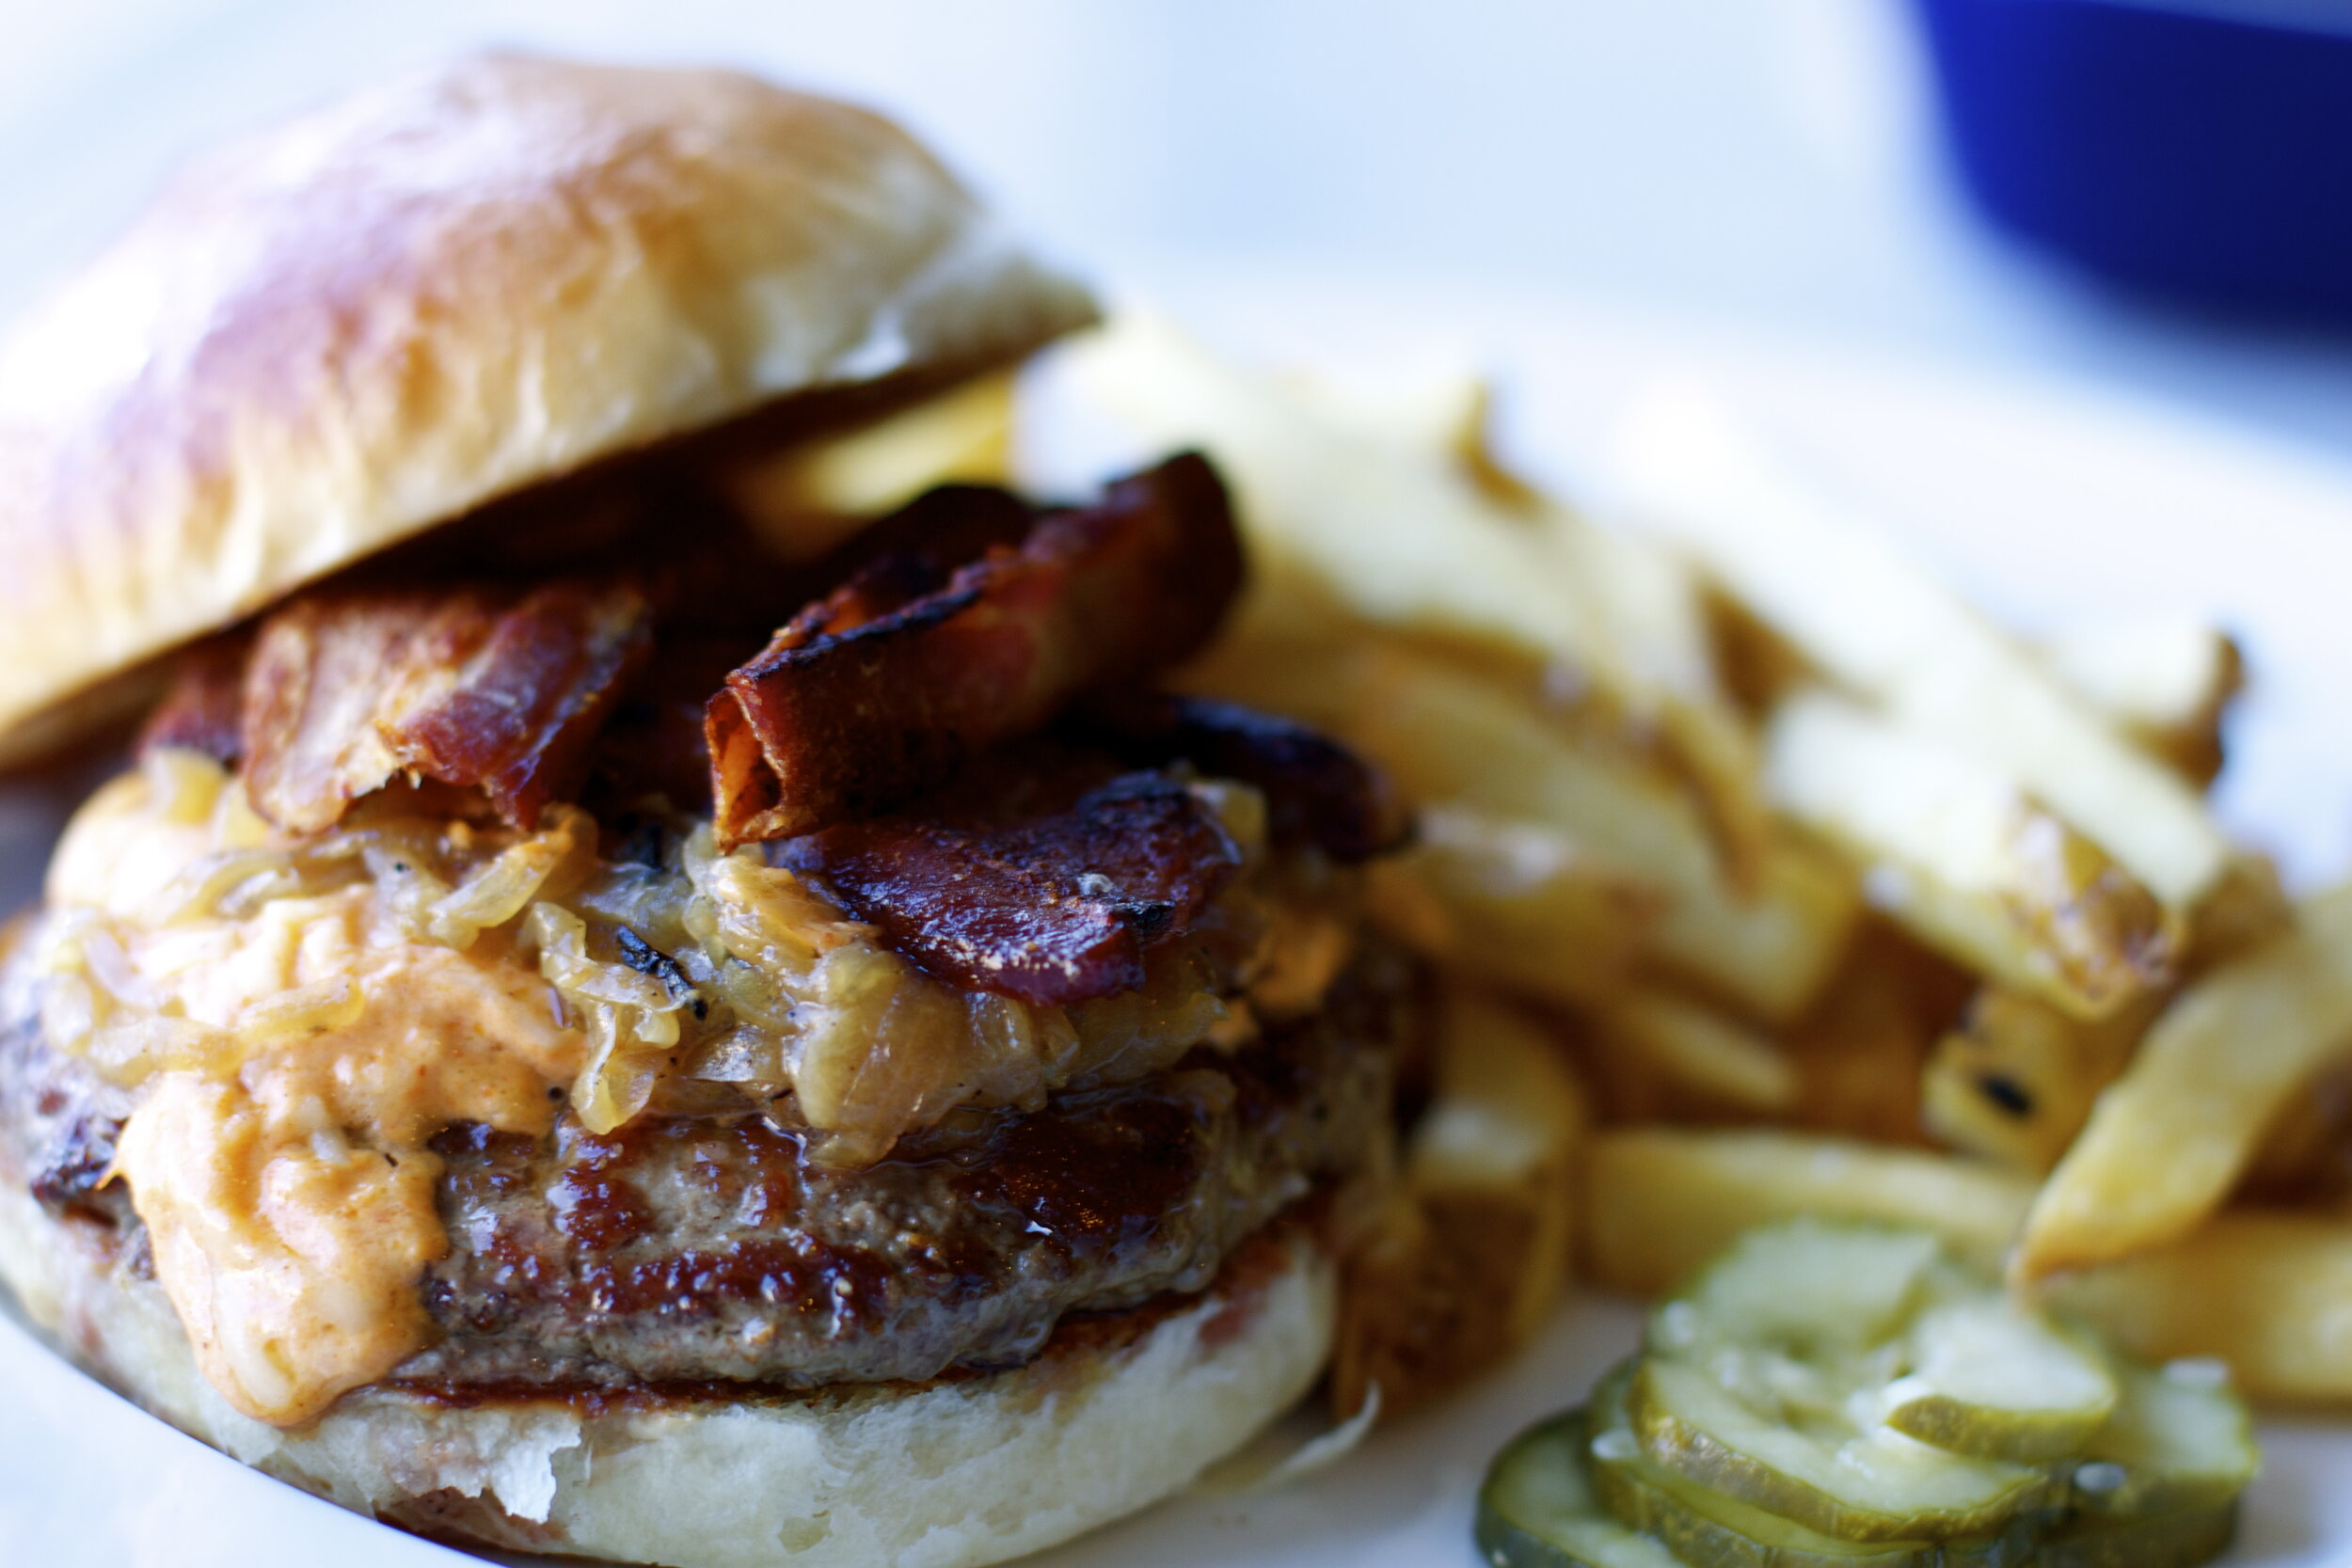
We can’t wait to welcome you back in at Vistro so you can enjoy our burger (or veggie burger) with us! Until then, here’s how to make the pimento cheese that tops the Vistro burger along with bacon and griddled onions.

Earlier this year, I was happy to share this recipe and some tips and ideas for pimento cheese with Pamela Lannom at The Hinsdalean (and big shoutout to them for doing such a great job during this time):

He [Chef Paul] pointed to his Jar Sessions pickled peppers as one of the reasons the spread is so tasty, along with the smoked aged cheddar from Nordic Creamery in Wisconsin.

Virant suggested trying different types of cheeses in the spread.

"I think a Monterey Jack would be really good," he said.

The spread could be used on other meats, such as a pork roast, on a sturdy fish like sturgeon or with bratwurst and sausages. It could even be combined with Swiss chard, kale or collard greens to create a gratin.

"You could add it into that, put some bread crumbs on it and broil it," he said. "That would be tasty."

The dip tastes good straight out of a bowl, too - scooped up with veggies, crostini, crackers or flat bread.

"It's a perfect sort of party snack," Virant said.

Read the full article and get more recipes from local cooks …

Ingredients

  • 8 ounces cream cheese, softened

  • Juice of 1 lemon

  • 2 cups mayonnaise

  • 2 tablespoons Worcestershire sauce

  • 1/2 teaspoon sweet smoked paprika

  • 1/4 teaspoon hot smoked paprika or cayenne

  • 1 1/4 cup Jar Sessions Pickled Sweet Peppers or roasted red peppers, drained

  • 20 ounces sharp cheddar cheese, shredded

  • 1/2 cup minced yellow onion

Directions

  • Place the cream cheese, lemon juice, mayonnaise, Worcestershire, 1/4 cup of the pickled peppers and the spices in the bowl of your food processor. Process until smooth. Transfer to a large bowl.

  • Finely chop the remaining 1 cup of peppers and add them to the mayonnaise mixture, along with the minced onion and shredded cheddar.

  • Mix well to combine and refrigerate one hour before serving.

March 26, 2020 /Charlotte Compton
1 Comment
Photo by Regan Baroni

Photo by Regan Baroni

Kombu-Marinated Vegetables

March 26, 2020 by Charlotte Compton

These veggies are on the Gaijin menu and are a perfect accompaniment to your okonomiyaki or yakisoba. In happier times, they make a nice Japanese-inspired party appetizer, so file this away for future use. For now, appreciate these as a delicious and different way to eat your vegetables!

Ingredients

  • 1 cup celery, washed, peeled and cut into batonettes

  • 1 cup carrots, peeled, cut in half lengthwise, sliced thinly on a bias

  • 1 cup radishes, washed, trimmed, sliced thinly

  • 4-by-4-inch piece kombu (kelp)

  • 1 tablespoon kosher salt, plus more if needed

  • 1 pint water

  • 2 tablespoons sesame oil

  • 1 tablespoon sesame seeds

  • 1 tablespoon furikake or other rice seasoning

  • 1 tablespoon soy sauce

  • 1 teaspoon aonori (ground nori)

Directions

  • Combine the celery, carrots, radishes, kombu, salt and water and store in the refrigerator overnight.

  • Drain the vegetables and mix with the remaining ingredients; marinate for at least 1 hour before serving. Season with more salt if needed. Serve.

March 26, 2020 /Charlotte Compton
Comment
3pbo-vie-cocktail.JPG

Cocktail Time: 3PBO

March 26, 2020 by Charlotte Compton

A longtime fan favorite at the Vie bar, the 3PBO comes together with just a few easy-to-source components and can add a touch of brightness during these uncertain times.

(For 1 cocktail)

Ingredients

  • 1 ounce favorite bourbon

  • 1 ounce Aperol

  • 1 ounce fresh lemon juice

  • 1 ounce Amara blood orange liqueur

Directions

  • Shake with ice and strain into a glass. Garnish with orange twist.

March 26, 2020 /Charlotte Compton
Comment
cheese-straws.jpg

Cheese Straws

March 26, 2020 by Charlotte Compton

A few ingredients and a food processor are all you need to make these (warning: addictive) cheese straws! It's a fun recipe for the kids to help out with, too. At Vie, we serve these with a side of smoked apple butter for dipping, but they are great on their own.

Ingredients

  • 6 ounces shredded cheddar

  • 2 ounces butter, softened

  • 3/4 cup flour

  • 1/2 teaspoon kosher salt

  • 1/4 teaspoon crushed red pepper flakes

  • 1 tablespoon cream, half and half, or milk

Directions

  • Add the butter, flour, salt and red pepper flakes to your food processor. Process until the butter is gone.

  • Add the cheese, and process to breadcrumb consistency.

  • Add the dairy and process till it forms a dough ball.

  • Roll out to about 1/4 inch thick, and cut into strips 1/4 inch wide with a pizza cutter.

  • Bake at 325 F until the cheese straws start to brown around the edges and get crispy. Enjoy!

Tips

The cheese straws bake up a lot better if they’re thoroughly chilled or even frozen before you bake them – then they don't spread.

March 26, 2020 /Charlotte Compton
Comment

Potato Gnocchi With Tomato Sauce and Pecorino

March 25, 2020 by Charlotte Compton

Gnocchi has been a staple on the menu at Vie from the beginning. Here’s a recipe that’s great for making at home, with easy-to-find ingredients. Hope you enjoy!

(Serves six +)

Gnocchi

Ingredients

  • 1 1/2 pounds Yukon Gold potatoes (about 3 large potatoes)

  • Kosher salt and freshly ground black pepper

  • 2 tablespoons unsalted butter at room temperature

  • 1 large egg, lightly beaten

  • 1/2 cup plus 1 tablespoon all-purpose flour, plus extra for dusting

  • Tomato sauce (recipe follows)

  • Pecorino, for grating

Directions

  • Preheat the oven to 325˚F. Oil a baking sheet or line it with parchment paper.

  • Put the potatoes in a large pot and cover with at least 1 inch of water. Add a generous pinch of salt and bring to a boil. Lower to a simmer and cook until tender, about 40 minutes for large potatoes. Drain the potatoes and let them steam in their skins. Once cool enough to handle (but still quite warm), peel and quarter the potatoes. Spread the pieces on the prepared baking sheet and place in the oven. Bake the potatoes until fairly dry, about 20 minutes. 

  • While warm, pass the potatoes through a food mill fitted with a medium plate. Season with about ½ teaspoon of salt and a few pinches of pepper: The potatoes should taste well-seasoned. Using a spatula, mix in butter, followed by the egg and the flour. Mix until the dough just starts to come together.

  • Lightly flour 2 baking sheets; set aside. Lightly dust a work surface with flour. Gently knead the dough a few times (do not overwork the dough or the gnocchi will be tough). Using a bench scraper or knife, divide the dough into 6 or 7 even portions. Using your fingertips, roll each portion of dough out into a long dowel, about 20 inches long and ½ inch in diameter. With the bench scraper or knife, cut the dowel into 1-inch pieces. Spread the cut gnocchi in a single layer on the floured baking sheets and refrigerate until needed. Alternatively, the gnocchi can be frozen. You will have about 9-10 dozen gnocchi.

  • Bring a large pot of salted water to a boil. Add the gnocchi. After they float to the surface, simmer briefly (the total cooking time will be about 2 minutes). Meanwhile in a wide, shallow pot, bring the tomato sauce to a gentle simmer, thinning with water from the gnocchi if it looks too thick. Using a wire skimmer or slotted spoon, lift the gnocchi out of the water and drop into the tomato sauce. Gently stir and cook until the sauce clings to the gnocchi, about 1 minute more.

  • To serve, divide the gnocchi into warmed bowls and grate pecorino on top.

Tips

  • Everyone claims to have a trick to ensure that their potato gnocchi is lighter than the other guy’s. It’s very simple, actually. Cook the potatoes in their skins, let them steam for a few minutes, then dry them out in the oven. I also like to work with the potatoes while they’re still warm.

  • This recipe easily serves six, though extra gnocchi freeze well for up to a month.

Tomato Sauce

Ingredients

  • 1/4 cup extra virgin olive oil

  • 1 small yellow onion, diced

  • 7 garlic cloves, minced

  • 1/4 teaspoon red pepper flakes

  • 6 cups canned tomatoes

  • Kosher salt

  • 3 sprigs thyme

  • 3 sprigs oregano

Directions

  • In a 4- to 6-quart pot over medium heat, warm the olive oil. Stir in the onion and gently sweat until soft, 3 minutes. Stir in the garlic and cook 1 minute more. Add the red pepper flakes, then pour in the tomatoes. Taste the tomatoes to gauge their seasoning, then season with salt as needed. Stir in the thyme and oregano. Gently simmer until the tomatoes have thickened and are no longer watery, about 30 minutes. Remove the sprigs and taste again, adjusting seasoning if needed.

Recipe from The Preservation Kitchen: The Craft of Making and Cooking with Pickles, Preserves, and Aigre-doux, by Paul Virant with Kate Leahy, pages 286 and 287

March 25, 2020 /Charlotte Compton
Comment
casiss.jpg

Cocktail Time: Cassis and Desist

March 25, 2020 by Charlotte Compton

For those making more cocktails at home these days, here’s a recipe for a gin-based cocktail that is simple to make and even easier to drink: Cassis and Desist (on the cocktail menu at Vie at one time). Thanks to Patrick, our bar manager at Vie, for putting this one together for us:

Ingredients

  • 1 part favorite gin

  • 1 part yellow chartreuse

  • 1 part cassis

  • 1 part fresh lemon juice

Directions

  • Shake with ice, double strain, and pour into your favorite glass. Garnish with a twist of lemon for extra credit!

March 25, 2020 /Charlotte Compton
Comment
Photo by Jeff Kauck

Photo by Jeff Kauck

Pickled Carrots

March 24, 2020 by Charlotte Compton

This could be a fun cooking project for the family to work on together (or, alternatively, a good excuse for you to request some alone time in the kitchen). When carrots are pickled, they retain their crunch but take on the tang of vinegar, making them excellent on salads, sandwiches and roasted root vegetables – a nice ingredient to have on-hand at any time.

I had the pleasure of speaking with Gwen Ihnat at The Takeout last year about making pickles – check out her article for more tips and info: If I Can Make Delicious Refrigerator Quick Pickles, Anyone Can.

(Makes 6 pints)

Ingredients

  • 4 C water

  • 2 1/2 C champagne vinegar

  • 1/2 C plus 1 T sugar

  • 3 T kosher salt

  • 2 tsp coriander seeds

  • 2 tsp fennel seeds

  • 1 tsp black peppercorns

  • 1 tsp red pepper flakes

  • 12 C baby carrots

Directions

  • In a pot, bring the water, vinegar, sugar and salt to a boil. Keep hot. In a dry sauté pan over medium heat, toast the coriander and fennel seeds, black peppercorns, and red pepper flakes.

  • Scald 6 pint jars in a large pot of simmering water fitted with a rack – you will use this pot to process the jars. Right before filling, put the jars on the counter. Divide the spices among the jars, using about 1 teaspoon per jar. Soak the lids in a pan of hot water to soften the rubber seal.

  • Meanwhile, in a pot of boiling, salted water, blanch the carrots for 2 minutes. Drain and pack into the jars.

  • Transfer the brine to a heat-proof pitcher and pour over the carrots, leaving a ½-inch space from the rim of the jar. Check the jars for air pockets, adding more brine if necessary to fill in gaps. Wipe the rims with a clean towel, seal with the lids, then screw on the bands until snug but not tight.

  • Place the jars in the pot with the rack and add enough water to cover the jars by about 1 inch. Bring the water to a boil and process the jars for 10 minutes (start the timer when the water reaches a boil). Turn off the heat and leave the jars in the water for a few minutes. Remove the jars from the water and let cool completely.

Tips

  • I use Mason (Ball or Kerr) jars because they are relatively inexpensive, easy to find, and extra jar lids and bands are easy to come by. You can use a jar indefinitely until it chips or cracks; use bands until they show signs of rust; cap jars with new lids every time.

  • Find a pot tall enough to accommodate the jars plus at least an inch of water above them, to adequately boil them. A rack cushions the jars as they process, preventing glass from hitting the bottom of the pot and cracking. You can use a round cooling rack, the kind used for cakes. Or you can make your own rack from extra jar bands: tie the bands together until they form a circle that covers the bottom of the pot. You can also buy a pot marketed specifically for canning, and, chances are, it will come with a rack.

Recipe from The Preservation Kitchen: The Craft of Making and Cooking with Pickles, Preserves, and Aigre-doux, by Paul Virant with Kate Leahy, pages 26 and 27

March 24, 2020 /Charlotte Compton
Comment


©Paul Virant 2021